

Key Takeaways
- Short, consistent grooming sessions are less stressful than infrequent, lengthy ones.
- Brushing frequency depends on your cat's coat length: short-haired cats need less than long-haired ones.
- Nail trims should happen roughly every two to three weeks to prevent overgrowth and snagging.
- Ear checks at home can catch early signs of infection before they become serious.
- Positive associations, such as treats and calm handling, make cats more cooperative over time.
What you will need
Before you start: setting up for success
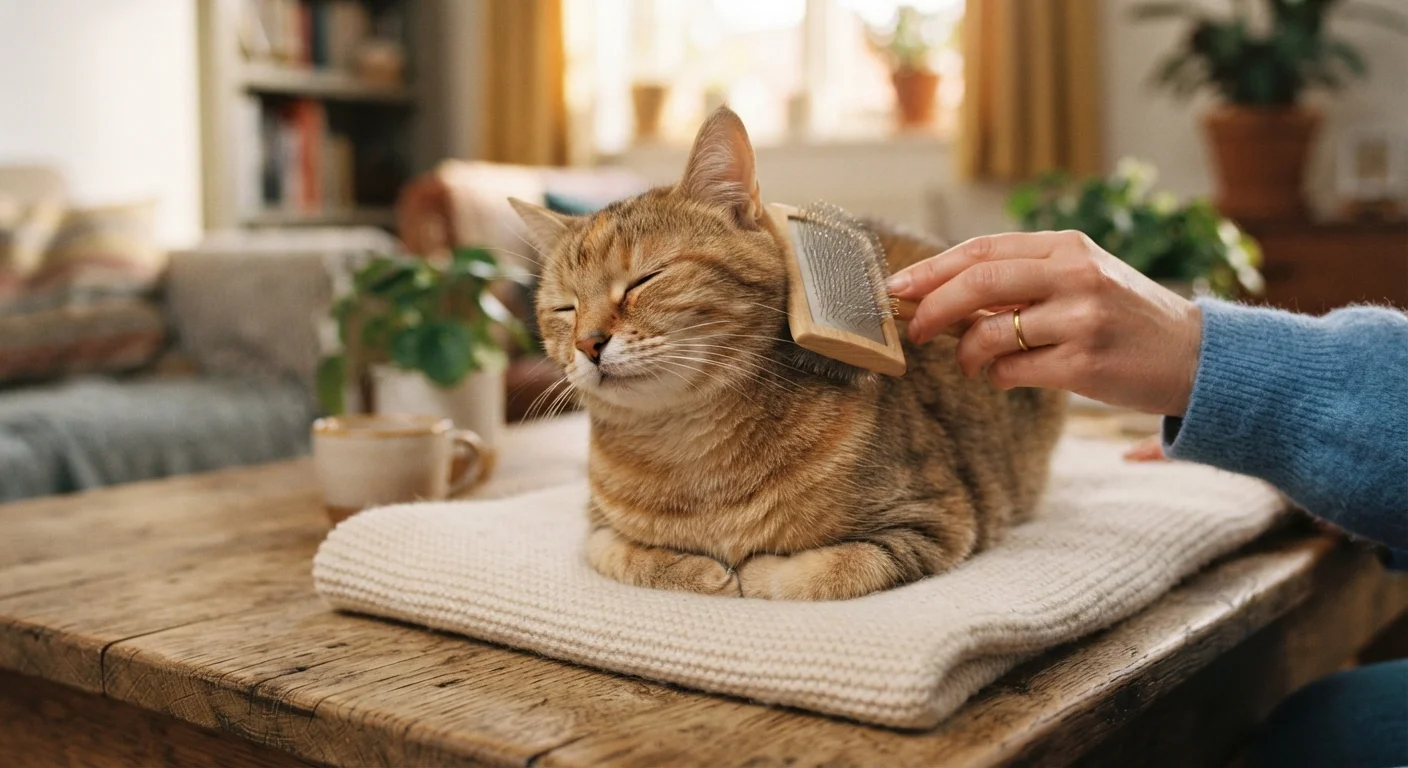
Grooming works best when the cat is already calm. Choose a time when your cat has eaten, rested, and is in a relaxed mood rather than mid-play or just after waking. A non-slip surface, such as a folded towel on a table or your lap, gives the cat traction and reduces the urge to bolt.
Gather everything before you bring the cat over. Stopping mid-session to search for a brush or nail clipper breaks the routine and raises stress for both of you.
What you will need
Slicker brush or grooming mitt
Removes loose fur and minor tangles from short or medium coats during routine brushing.
Wide-tooth comb
Works through larger tangles and mats in long-haired cats before they tighten.
Cat nail clippers
Trims the sharp tip of each nail safely without splitting or crushing.
Styptic powder
Stops minor bleeding quickly if a nail is accidentally clipped too short.
Cotton balls or gauze pads
Used to gently wipe the outer ear canal during a basic ear check.
Step-by-step grooming routine
Work through the routine in the order below. Starting with the least invasive task (brushing) and finishing with the more sensitive ones (nails, ears) lets the cat settle in before anything uncomfortable happens.
Brush the coat
Run the brush or mitt in the direction of fur growth, starting at the neck and working toward the tail. Use gentle, short strokes rather than long pulling motions. For long-haired cats, follow with a wide-tooth comb to catch any tangles the brush missed. If you hit a mat, hold the fur at the base with your fingers to avoid pulling the skin, then work through the mat gently from the tip inward.
Short-haired cats typically need brushing once or twice a week. Long-haired cats benefit from daily sessions, or at least four to five times per week.
Trim the nails
Hold one paw gently and press the pad to extend a single claw. Look for the pink quick, which is the blood vessel running through the nail. Clip only the clear, curved tip, leaving at least two millimeters of clearance from the quick. Clip one or two nails, reward the cat, then continue. You do not need to finish all nails in one sitting, especially at first.
Most cats need nail trims every two to three weeks. If you hear clicking on hard floors, the nails have likely grown past the comfortable length.
Check and clean the ears
Fold the ear flap back gently to expose the outer canal. A healthy ear looks light pink and has little to no visible debris. Use a dry cotton ball or gauze pad to wipe the visible outer surface only. Do not insert anything into the canal itself.
If you see dark brown or black debris, notice an odor, or the cat flinches when you touch the ear, stop and schedule a vet visit. Those signs warrant professional evaluation, not home cleaning.
What to watch for during grooming
Grooming sessions give you a close look at your cat's skin, coat, and ears. Notice any of the following and mention them at your next vet visit:
- Bald patches, red skin, or excessive dandruff in the coat
- Black or brown debris in the ears, which can signal ear mites or yeast
- Nails that curve back toward the paw pad, which can cause injury if left too long
- Lumps, bumps, or sore spots that your cat reacts to when touched
The monthly pet health checklist covers these and other physical checks in a vet-informed format you can follow between appointments. Grooming is also one part of the broader routine described in what cats actually need to stay healthy indoors.
End every session on a positive note
Stop while the cat is still tolerating the session rather than waiting until they pull away or show stress signals such as tail flicking or flattened ears. A treat and a short play session afterward builds the association that grooming leads to good things. Over time this makes each subsequent session easier to start.
Building tolerance in a reluctant cat
Some cats, especially those not handled much as kittens, resist grooming from the start. Pushing through resistance tends to make the next session harder. A better approach is to pair each grooming tool with something the cat already likes.
Start by leaving the brush or clippers near the cat's resting spot for a few days so the objects lose their novelty. Then hold the tool near the cat without using it, offering a treat. Gradually move to brief contact: one or two brush strokes, then a treat and a pause. Build up session length over one to two weeks rather than one long session.
If your cat remains extremely reactive, scratches or bites consistently, or shows signs of pain during handling, a veterinarian or certified cat behavior consultant can help identify whether the issue is behavioral or physical. The pet behavior tips hub has additional guidance on reading and responding to feline body language.
This article is for informational purposes only and is not a substitute for professional veterinary advice.